Looking to master the art of how To Connect Cisco Switch With Console Cable? Our step-by-step guide simplifies the process, ensuring a seamless connection every time. Dive into the world of networking wizardry with ease!
Table of Contents
Introduction
Having to connect a Cisco switch to the console cable can seem like embarking on a journey into the heart of your network infrastructure. It is an essential skill for anyone involved in the field of IT and networking. This guide will serve as your compass whether you are an experienced IT professional seeking to refresh your memory or a novice seeking to learn more about Cisco switches.
With this exploration, we will demystify the process of connecting your Cisco switch via console cable, providing you with a clear and concise roadmap. The instructions are straightforward and user-friendly – no technical jargon, no confusion – and you’ll be connecting with confidence in no time. Let’s take a step into the world of network connectivity, one step at a time, by grabbing your console cable.
How to connect Cisco switch with Console cable?
Gathering the Necessary Equipment
Ensure that you have all of the necessary equipment at your disposal before embarking on the journey of connecting your Cisco switch with a console cable. By completing this step, you will be able to navigate the complex aspects of network administration with confidence and precision, establishing the foundation for a seamless connection process.
Cisco Switch:
Cisco switches are the central components of your network infrastructure. Before setting up the connection, make sure that the switch you are working with is turned off.
Console Cable:
You can use this cable to connect your computer to the console port of a Cisco switch. It is distinguished by its RJ-45 connector on the one end and a serial connector (typically DB-9) on the other. Establishing a stable connection requires the use of a reliable console cable.
Terminal Emulation Software:
It is necessary to install terminal emulation software on your computer in order to be able to communicate with the Cisco switch. Popular choices include PuTTY for Windows and Terminal for Mac.
USB-to-Serial Adapter (If Necessary):
It may be necessary to use a USB-to-Serial adapter if your computer lacks a native serial port. This adapter allows you to connect the serial end of the console cable to a USB port on your computer.
Computer with Available USB Port:
It is essential that the computer you are using has a USB port for connecting the USB-to-Serial adapter if necessary. This forms the physical link between the computer and the Cisco switch.
Preparing Your Workspace
Setting up a conducive workspace is important before we dive into the intricacies of connecting a Cisco switch with a console cable. We will outline essential steps in this guide to optimize your workspace, setting the stage for a successful connection not only by ensuring a smooth setup but also by minimizing potential disruptions during the setup.

Clear the Area Around Your Workspace:
As part of the setup process, it is important to first declutter the area around your desk or workstation. Remove any unnecessary items to make room for your Cisco switch, console cable, and computer. This will prevent accidental entanglements and disruptions.
Arrange Adequate Lighting:
Ensure that your workstation is well-lit since proper lighting is crucial for identifying ports, connectors, and labels on both the Cisco switch and the console cable. Position a desk lamp or adjust the room lighting to achieve the best visibility.
Secure a Stable Surface:
Ensure that your Cisco switch and computer are placed on a stable, flat surface in order to minimize the possibility of bumps or movements during the connection process. A sturdy desk or workbench would be ideal to ensure a secure setup.
Proximity to Power Outlets:
You should make sure that your workspace is located within a reasonable distance from power outlets so that you may easily connect your Cisco switch to a power source without tripping over extension cords.
Arrange Tools and Accessories:
Provide all the necessary tools and accessories within arm’s reach, including the console cable, the terminal emulation software-equipped computer, as well as any adapters that might be necessary. Having everything readily available will streamline the connection process.
Maintain an Organized Cable Path:
If you intend to run the console cable from your Cisco switch to your computer, you should avoid running the cable across walkways or areas where there is a high volume of foot traffic in order to avoid accidental tripping or disconnection.
Ensure Ventilation and Airflow:
The Cisco switch should be provided with adequate ventilation to prevent overheating. Make sure there is ample space around the switch to allow air to flow freely, and avoid placing it in enclosed spaces or adjacent to heat-emitting devices.
Minimize Noise and Distractions:
You should select a workspace away from loud areas or sources of distraction. By doing so, you will be able to focus on the connection process without being interrupted by unnecessary distractions.
Connecting the Console Cable
In the ever-evolving landscape of information technology and network administration, understanding how to connect a Cisco switch with a console cable remains a fundamental skill. By connecting directly to the switch, you are able to gain insight, control, and troubleshoot issues as they arise by using the console cable.
Why is Console Cable Connection Important?
Prior to discussing the technical details, it is important to understand why establishing a console cable connection is crucial. You can use this connection to access the switch’s Command-Line Interface (CLI), where you can configure settings, diagnose problems, and monitor its performance. A network administrator, IT professional, or enthusiast must possess this skill.
The Steps to Connect a Cisco Switch with a Console Cable
Let’s break down the process into a series of manageable steps:
Step 1: Connecting the Console Cable
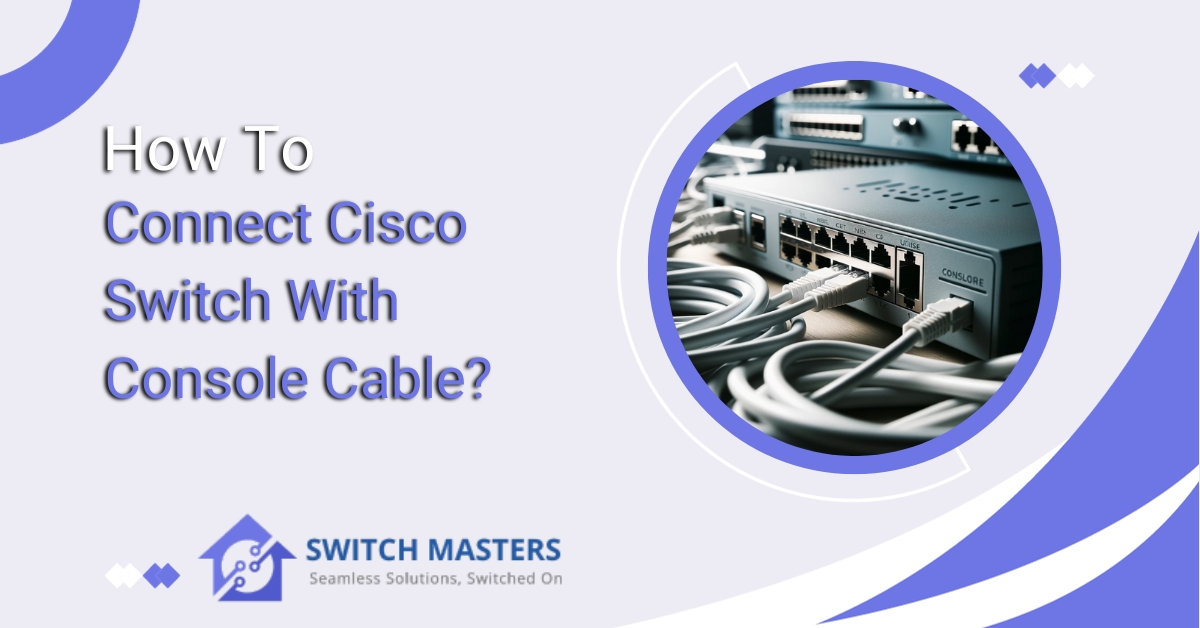
- Locate the Console Port: Find the console port on your Cisco switch, often labelled “CON” or “Console.”
- Insert the Cable: Plug the RJ-45 end of the console cable into the switch’s console port.
- Serial Connection: If your computer lacks a serial port, use a USB-to-Serial adapter. Connect the serial end of the console cable to the adapter, and then plug the adapter into a USB port on your computer.
Step 2: Configuring Terminal Emulation Software
- Open the Terminal Emulator: Launch your chosen terminal emulator.
- Configure Serial Settings: Access the emulator’s settings or preferences menu to set the serial connection parameters. This includes selecting the appropriate COM port (Windows) or serial device (Mac/Linux) and setting the baud rate to 9600.
Step 4: Establishing the Console Connection
- Power On the Cisco Switch: Plug in your Cisco switch and power it on. Wait for it to complete its boot process.
- Access the Console Interface: In the terminal emulator window, press Enter or Return. This action should activate the console interface.
- Login (if required): Depending on your switch’s configuration, you might need to enter login credentials to access the switch’s CLI.
FAQ’s
How do I connect to a Cisco switch directly?
A console cable must be attached to the switch console port and the serial port of the computer in order to establish the connection between the switch and the computer. The initial configuration process will result in the display of the command prompt “Switch>” on the screen. Type “enable” directly next to the command prompt and press the “Enter” key. There is no password requirement for enabling the process at this point.
What is the use of console cable in Cisco?
Cisco cables, rollover cables, and management cables are all examples of console cables that serve a specific purpose. As a result, Cisco networking devices can be connected to terminals or PCs for configuration purposes. Normally, Cisco will connect the cable to the terminal with an RJ45 connector, while the terminal end will terminate with a serial connector.
What is a console port on a Switch?
In the absence of a display device, a console port provides direct connectivity between a computer and Gigabit Ethernet switches. This allows the switch to be managed without a display. In the following guide, you will find detailed instructions on how to log in to a network switch via the console port as the first step in configuring your network switch.
Why console cable is used?
A serial connection is established between your computer’s serial port and your TP-Link switch or router’s console port with the Console Cable. It is important to note that this particular type of Console Cable is designed for older TP-Link products that have been discontinued and provides access to the device’s command line interface (CLI).
Which cable is called a Cisco console cable?
The rollover cable also referred to as a Yost cable, Cisco cable, or Console cable, belongs to the category of null-modem cables. The purpose of this cable is to connect a computer terminal to the console port of the router. It is usually a flat cable with a distinctive light blue colour that makes it easy to identify amidst the variety of network cables available.
Conclusion
If you are interested in networking or information technology, mastering the art of connecting a Cisco switch to a console cable is an essential skill. Direct access to the switch’s Command-Line Interface (CLI) allows seamless configuration, troubleshooting, and management through this direct link. This guide provides you with the necessary information and confidence to establish a robust console connection by following the steps outlined in the guide. You will find yourself well-equipped to handle a wide range of networking tasks with precision and expertise once you acquire this skill.