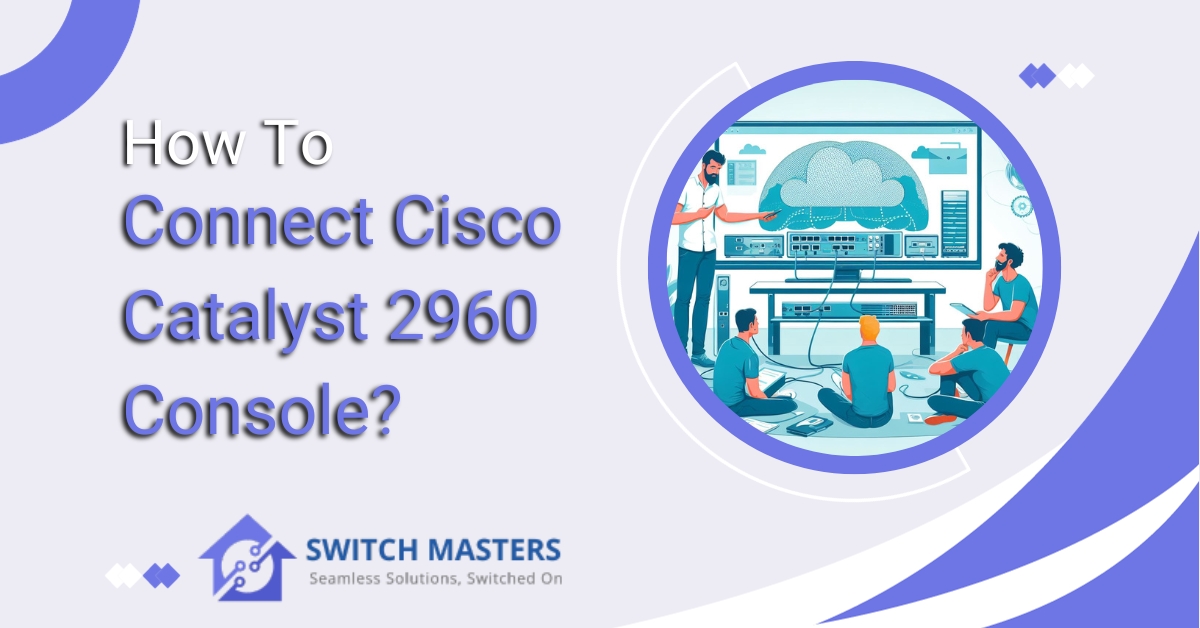
Learn how to connect Cisco Catalyst 2960 console for efficient network management. Our comprehensive guide covers step-by-step instructions and FAQs.
Introduction
For network administrators, connecting directly to Cisco Catalyst 2960 switches is an essential skill. Whether you are configuring a new switch or troubleshooting issues, the console connection provides direct access to the switch. We will walk you through the process of connecting to a Cisco Catalyst 2960 console in this guide so that you have the knowledge and confidence to manage your network effectively.
Gathering the Necessary Tools
Cisco Catalyst 2960 console connections are essential to managing and configuring this powerful network switch. Before you begin, you will need to gather the necessary tools and equipment.

- Console Cable: Console cables are the most important tools you will need. This cable usually has an RJ-45 connector on one end and a serial connector on the other. It is designed specifically for connection to the console port on Cisco Catalyst 2960 switches. Please ensure that the console cable includes the appropriate connectors.
- Computer or Laptop: Depending on the type of console cable you have, you will need either a serial port or a USB port on your computer. If your computer does not have a serial port, you may have to purchase a USB-to-serial adapter.
- Terminal Emulation Software: The command-line interface of the switch is accessed using terminal emulation software. Popular options include PuTTY, TeraTerm, and HyperTerminal.
- Power Source: The Cisco Catalyst 2960 switch must be powered on in order to connect to the console. A switch that does not have power will not be able to connect to the console. Make sure the switch is plugged in and powered on before connecting to the console.
- Documentation: In case you encounter any issues during the connection process or wish to refer to specific commands, it is always a good idea to have the Cisco Catalyst 2960 series documentation on hand.
- Alternative Tools: Depending on your setup, you might require some modifications to the console cables and tools listed above. Be prepared to adapt to any unique requirements your network environment may require.
You will be well-prepared to configure and manage your Cisco Catalyst 2960 network switch efficiently by gathering these essential tools. The right tools ensure a smooth and successful connection process, providing the foundation for effective network administration.
Connect the Console Cable
As soon as you have gathered the necessary tools for connecting to a Cisco Catalyst 2960 console, the next step is to establish a physical connection. The following instructions will guide you through the setup process:

- Locate the Console Port: It is essential that you locate the console port on your Cisco Catalyst 2960 switch. This port can be found on the front or back of the switch and is usually labeled “CONSOLE.”.
- Turn Off the Switch: To prevent any accidental configuration changes during the connection process, it is a good practice to turn off the Cisco Catalyst 2960 switch prior to making any physical connections.
- Connect the Console Cable: Connect the console cable, which will typically have an RJ-45 connector, to the console port on your switch. Ensure that it is firmly inserted so that the connection will be secure.
- Connect to Your Computer: If your computer does not have a serial port, use a USB-to-serial adapter and connect it to an available USB port. You will find a serial connector on the other end of the console cable.
- Secure the Connections: Make sure that both ends of the console cable are securely attached. Cable ties or clips may be used to organize and secure the console cable during the configuration process.
- Power On the Switch: The Cisco Catalyst 2960 switch may take a few moments to boot up after the cable connections have been secured. Ensure the cable connections are secure before powering on the switch.
- Prepare Your Computer: Configure the terminal emulator software you installed earlier (e.g., PuTTY, Tera Term) to use the serial port to which your console cable is connected. Configure the communication parameters to match the default settings of the switch, which are usually 9600 baud rate, 8 bits, no parity, and 1 stop bit (9600-8-N-1).
- Power On Your Computer: Turn on your computer now. Launch the terminal emulation software, and your computer should be ready to establish a connection with the Cisco Catalyst 2960.
- Begin the Connection: Once everything is set up, press “Enter” or “Return” in your terminal emulation software. You should see the switch’s command-line interface appear on your screen, indicating a successful connection.
Congratulations! You’ve successfully established the physical connection between your computer and the Cisco Catalyst 2960 switch’s console port. Now, you’re ready to interact with the switch’s command-line interface, configure settings, and manage your network infrastructure efficiently.
Launch Terminal Emulation Software
You will need terminal emulation software in order to communicate with your Cisco Catalyst 2960 console. Here is a brief guide to help you get started:
- Choose Your Software: If you have not already done so, download and install a terminal emulator such as PuTTY, TeraTerm, or HyperTerminal on your computer.
- Launch the Software: Start the program after it has been installed.
- Configure Serial Port: You should navigate to the software’s settings or configuration menu and select the serial port that your console cable is connected to (e.g., COM1 or COM2). You should ensure that the configuration matches the switch’s defaults: 9600 baud rate, 8 data bits, no parity, and one stop bit.
- Save Settings: These settings can be saved as a profile or session so you don’t have to reconfigure them every time.
- Connect: This action establishes a connection to the Cisco Catalyst 2960 console by clicking the “Connect” button or the equivalent button in your chosen software.
With your terminal emulation software set up, you’re ready to begin configuring and managing your switch.
How to Connect Cisco Catalyst 2960 Console?
Listed below are instructions for completing the setup program and configuring the switch in a more concise and user-friendly manner:

- Initial Configuration Dialog: Start by entering “yes” at the prompts that ask if you’d like to enter the initial configuration dialog and if you want to set up basic management.
- Set Host Name: Enter a unique host name for your switch (limited to 28 characters for command switches and 31 characters for member switches). Avoid using numbers as the last character.
- Enable Secret Password: Create an enable secret password (1 to 25 alphanumeric characters) for secure access to privileged mode.
- Enable Password: Set an enable password (1 to 25 characters) for access to privileged mode (in plain text).
- Telnet Password: Configure a Telnet password (1 to 25 alphanumeric characters) for remote access via Telnet.
- SNMP Configuration (Optional): If you want to configure SNMP, follow the prompts. Otherwise, enter “no.”
- Management Interface: Enter “vlan1” as the interface name for connecting to the management network.
- Configure IP Address: Set the IP address and subnet mask for vlan1.
- Cluster or Standalone: Choose whether to enable the switch as a cluster command switch (yes/no). If you choose “no,” you can configure it later.
- Save Configuration: You’ll be presented with options to save or discard the configuration. Choose option 2 to save it to non-volatile memory (NVRAM) for future use.
Following these steps, you’ll have completed the initial configuration of your switch. It’s essential to save the configuration to NVRAM for it to be retained after reboots.
Establishing and Testing the Console Connection
The following steps will guide you through the process of establishing and testing a console connection to your Cisco Catalyst 2960 switch once you have gathered all the necessary tools, made the physical connection, and set up the terminal emulation software.

- Power On the Switch: You should ensure that your Cisco Catalyst 2960 switch is powered on and that the boot-up process has been completed.
- Open Terminal Emulation Software: Start the terminal emulator software you previously installed (such as PuTTY or Tera Term).
- Select the Saved Profile: In your terminal emulation software, if you have saved the settings in a profile or session, load that profile now. By doing so, you will no longer be required to reconfigure the settings every time you connect.
- Choose the Serial Port: Double-check that your console cable is connected to the correct serial port in the software. The most common serial ports are COM1 and COM2.
- Initiate the Connection: The connection between the Cisco Catalyst 2960 console and the terminal emulator software is initiated by clicking “Connect” or an equivalent button in the terminal emulator software.
- Press Enter/Return: As soon as the connection has been established, press “Enter” or “Return” on your keyboard. You should now see the switch’s command-line interface prompt on your screen.
- Test the Connection: If the connection is functioning properly, try entering a simple command, such as “show version” or “show running-config.” You should receive an answer from the switch displaying information about its configuration and status.
- Troubleshoot, If Necessary: Refer to your terminal emulation software documentation for troubleshooting tips if you encounter any problems during the connection process. Double-check the physical connections, serial port settings, and console cable.
By successfully establishing and testing the console connection, you have gained access to the Cisco Catalyst 2960 switch’s command-line interface, which allows you to configure, monitor, and manage your network infrastructure effectively. In order to meet your network requirements, you must now take control and adjust the device accordingly.
Common Issues and Troubleshooting
It is usually straightforward to connect to the Cisco Catalyst 2960 console, but you may encounter a few common problems.
FAQ’s
How do I know if my console cable is working?
Try using a different cable or computer if you are uncertain about the console cable’s functionality. Sometimes, a faulty cable or port may cause connection issues.
What if I forgot the switch’s login credentials?
If you have forgotten the login credentials for the switch, you can perform a password recovery procedure. Refer to Cisco’s official documentation for detailed instructions.
I can’t see any output in the terminal.
Ensure that your terminal emulator software is configured correctly (Baud Rate, Data Bits, Stop Bits, Parity, and Flow Control) as described earlier.
Conclusion
Using the Cisco Catalyst 2960 console is an essential skill for network administrators. By following this guide, you will be able to establish a console connection with confidence, enabling you to effectively manage your network infrastructure.
You may refer to Cisco’s official documentation for more information and troubleshooting tips. Once you have mastered the process of connecting to the console, you are one step closer to becoming a networking expert.