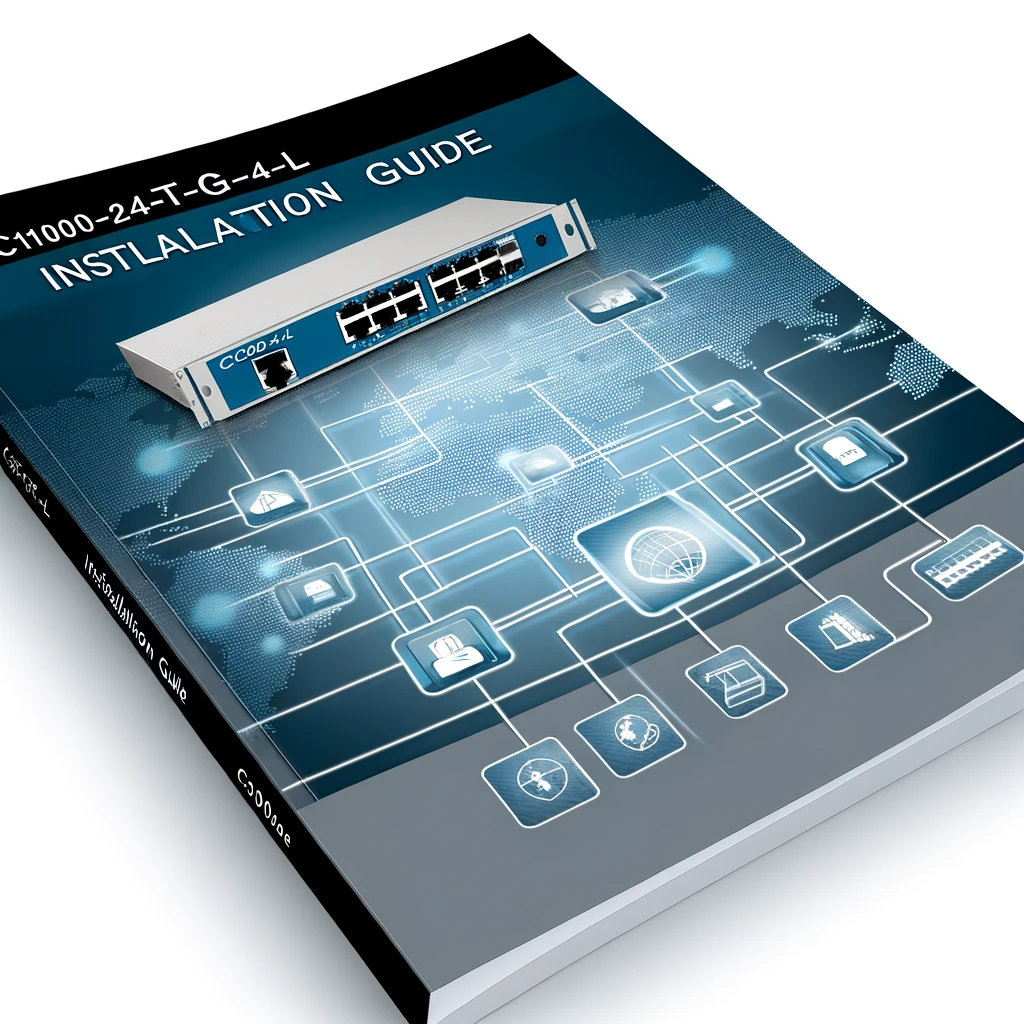
Explore our comprehensive C1000-24T-4G-L Installation Guide to seamlessly set up your new device. Get step-by-step instructions, expert tips for optimal performance, and troubleshooting advice to ensure a smooth installation process for your C1000-24T-4G-L model. Perfect for IT professionals and network administrators.
Introduction
Introducing the C1000-24T-4G-L Installation Guide, the essential guide to setting up your new networking device. To ensure that you receive a seamless installation experience, whether you are a network administrator, an IT professional, or a tech-savvy individual looking to improve your network’s capabilities, this guide is meticulously designed. In addition to its advanced capabilities and robust performance, the C1000-24T-4G-L is an essential component of any network infrastructure.
This guide includes step-by-step instructions on how to configure your device for optimal performance from the moment you unbox it. We also include expert tips and troubleshooting advice to assist you in resolving any issues you may encounter during installation. Our goal is to ensure that you can fully leverage the capabilities of the C1000-24T-4G-L, ensuring a reliable and high-performance network environment. We are ready to start on the path to success.
Table of Contents
C1000-24T-4G-L installation guide
As part of Cisco’s Catalyst 1000 series, installing a C1000-24T-4G-L switch is a critical step in the establishment of a robust and reliable network infrastructure. An overview of the key steps and considerations involved in successfully installing and configuring the Cisco C1000-24T-4G-L switch is provided in this guide. This installation process will be smoother if you follow these instructions carefully whether you are setting up a new network or upgrading an existing one.
Step 1: Unboxing and Inspection
As soon as you receive your C1000-24T-4G-L switch, carefully open the package and check for any visible damage. Verify that the switch itself, a power cord, a rack-mounting kit, a console cable, and documentation are all included in the package. Typically, this includes the switch itself, a power cord, rack-mounting kit, and documentation.
Step 2: Understanding Your Switch
In the C1000-24T-4G-L model, there are 24 10/100/1000 Ethernet ports and 4 Gigabit Ethernet (SFP) uplink interfaces. Before installation, it is important to familiarize yourself with the ports, indicators, and console port location on the switch.
Step 3: Planning Your Installation
Plan your network layout before you begin physical installation. Make sure the switch is located within reach of the power sources and the devices it will connect, and it is well ventilated and temperature-controlled. Make sure the installation environment is free of excessive dust and moisture before proceeding.
Step 4: Mounting the Switch
Depending on your preference, you may mount the switch on a rack or place it on a stable surface. For rack mounting, you will need to use the provided kit and follow the instructions for securely mounting the switch to the rack. To avoid any electrical hazards, make sure the switch is properly grounded.
Step 5: Connecting to Power
Once the switch has been powered on, verify that the system and status indicators on the switch indicate the switch is operating properly by connecting the power cord to the switch and plugging the switch into an appropriate rated electrical outlet. Avoid using extension cords or power strips as they can overload the circuit.
Step 6: Connecting Network Devices
Connect your network devices to the switch’s ports using Ethernet cables. The C1000-24T-4G-L automatically detects the connection speed and adjusts accordingly. To connect to upstream switches or other network infrastructure, SFP ports and compatible modules must be used.
Step 7: Configuring the Switch
With a console cable and a terminal emulator program installed on your computer, you can configure the system initially. The default settings, such as IP addressing, security settings, and VLAN configurations, can be changed to suit your network’s requirements.
Step 8: Verifying the Installation
As soon as the switch has been configured, verify that all connected devices can communicate through the switch. Inspect the status of the LEDs and use the Command Line Interface (CLI) to inspect the switch’s status and connectivity.
Safety and Compliance
As indicated in the product documentation, you must adhere to all safety guidelines and compliance regulations. Make sure that the switch is installed in an environment that meets Cisco’s operational specifications to prevent overheating and ensure the switch’s longevity.
Advanced Configuration

The Cisco Catalyst C1000-24T-4GL switch is part of the Cisco Catalyst 1000 Series, which is designed for small and medium-sized networks to provide reliable connectivity. Let’s examine its advanced configuration in greater detail. It is essential to understand the advanced configuration options when setting up a new network or optimizing an existing one.
Initial Setup and IP Configuration
- Configuration Setup Wizard: When you first set up the switch, use the Configuration Setup Wizard to enter the initial IP information. This enables the switch to connect to local routers and the Internet. You can then access the switch through the assigned IP address for further configuration.
- CLI Access via Console Port: To dive into advanced settings, access the switch’s Command Line Interface (CLI) through the console port. From here, you can execute commands, configure VLANs, set up security features, and fine-tune performance.
VLAN Configuration
VLANs (Virtual LANs) allow you to segment your network logically. Here are some key steps for VLAN configuration on the Catalyst C1000-24T-4GL:
Create VLANs: Use the vlan command to create VLANs. Assign unique VLAN IDs and names to each VLAN. For example:
- Switch(config)# vlan 10
- Switch(config-vlan)# name Sales
Assign Ports to VLANs: Associate specific switch ports with VLANs using the interface range command. For instance:
- Switch(config)# interface range gigabitEthernet 1/0/1 – 24
- Switch(config-if-range)# switchport mode access
- Switch(config-if-range)# switchport access vlan 10
Trunk Ports: Configure trunk ports to carry traffic for multiple VLANs. Use the switchport mode trunk command:
- Switch(config)# interface gigabitEthernet 1/0/25
- Switch(config-if)# switchport mode trunk
Advanced Device Settings
Beyond VLANs, explore other advanced settings:
- Security Features: Implement features like Port Security, 802.1X Authentication, and Access Control Lists (ACLs) to enhance network security.
- Quality of Service (QoS): Prioritize traffic by configuring QoS policies. Ensure critical applications get the necessary bandwidth.
- Spanning Tree Protocol (STP): Optimize network redundancy and prevent loops using STP variants like Rapid PVST+.
Remember to save your configurations using the write memory command to persist changes across reboots. The Software Configuration Guide for Cisco IOS Release 15.2(7)Ex provides detailed instructions for advanced configuration. Happy networking! 🌐🔌
Maintenance and management
Certainly! Let’s explore the maintenance and management aspects of the Cisco Catalyst C1000-24T-4GL switch. This switch is part of the Catalyst 1000 Series, designed for small businesses, branch offices, and critical Internet of Things (IoT) deployments. Here’s how you can effectively maintain and manage this switch:
Maintenance Best Practices
- Firmware Updates: Regularly check for firmware updates on the Cisco website. New firmware versions often include bug fixes, security enhancements, and performance optimizations. Apply updates during maintenance windows to minimize disruption.
- Backup Configuration: Before making any changes, back up the switch configuration. Use the copy (running-config startup-config) command to save the current configuration to non-volatile memory. This ensures you can restore settings if needed.
- Hardware Inspection: Periodically inspect the switch hardware. Check for loose cables, damaged ports, or any signs of wear. Dust off vents and ensure proper ventilation to prevent overheating.
- Monitoring Tools: Utilize monitoring tools such as sFlow to track network traffic patterns. This helps identify anomalies, bottlenecks, or potential security threats.
Management Options
1. Command-Line Interface (CLI):
- Access the switch via the CLI for granular control. Use commands like (show, configure, and debug) to troubleshoot, monitor, and configure settings.
- Example: To view interface status, use (show interfaces status.)
2. Web User Interface (UI):
- The switch provides an on-box web UI for basic management tasks. Access it through a web browser using the switch’s IP address.
- Navigate through menus to configure VLANs, view port statistics, and manage security features.
3. Device Management:
- Use Bluetooth for over-the-air access to the switch.
- Employ Simple Network Management Protocol (SNMP) for centralized monitoring and alerts.
- Access the switch via the RJ-45 console port for direct management.
4. Security Features:
- Implement 802.1X authentication for connected devices.
- Set up a Switched Port Analyzer (SPAN) to monitor specific ports.
- Enable Bridge Protocol Data Unit (BPDU) Guard to prevent unauthorized switches.
FAQ’s
What is the default password for cisco c1000 24t 4g L?
Please enter the default log-in details: username “cisco” and password “cisco”, and click Enter. The Configuration Setup wizard will be displayed.
How much power does a Catalyst 1000 use?
Providing enhanced security, flexibility, and ease of use, the Cisco Catalyst 1000 has 24 Gigabit Ethernet ports, six PoE+ ports, and 13 PoE ports, delivering up to 195 watts of power. Several 1Gigabit SFP uplinks are also available for increased network connectivity.
What is the default username and password for Cisco 1000?
You can access the device using a web browser on your computer by entering either 10.0.0.1 or 10.0.0.3 into the address bar. Then, enter the username and password that are provided by the device: “cisco”.
Which catalyst is better?
Often, platinum and palladium compounds are selected because of their high efficacy, with platinum compounds being of particular value in commercial applications due to their cost-effectiveness.
How to increase catalyst performance?
Several strategies have been employed to enhance catalytic performance, including optimizing particle shape and size, as well as introducing electrochemical activation methods. As a result of this activation, the number of active sites is increased, as do oxygen vacancies and Fe+2/Fe+3 ratios.
Conclusion
Using the installation guide for the C1000-24T-4G-L, you will be able to establish this networking device efficiently and effectively in a comprehensive and detailed manner. Users can optimize the performance and reliability of their network infrastructure by following the detailed instructions for mounting, connecting, configuring, and maintaining the device.
Throughout the guide, safety precautions, advanced configuration options, and troubleshooting tips are highlighted, emphasizing the need for a thorough understanding of the device’s capabilities and appropriate use. This guide facilitates seamless integration of the C1000-24T-4G-L into any network environment, allowing you to leverage its flexibility, security, and simplicity to meet the diverse needs of modern networking.


